🫘 A Small-Space Gardener’s Guide to Saving Seeds
Saving seeds is one of the easiest ways to get more from the garden you already have.
And if you're gardening in a small space, that can be especially valuable. When you only have a few containers, a small raised bed, a balcony, or a little patch of backyard, every plant has to earn its keep. Why not save seeds from the ones that performed beautifully and grow them again next year?
Don't get me wrong—I love buying seeds. I will happily spend an unreasonable amount of time flipping through seed catalogues and convincing myself that I absolutely need another variety of tomato.
Saving seeds doesn't mean you have to stop buying seeds. I still buy new varieties every year because experimenting is half the fun. But I don't need to keep buying the same seeds over and over again.
Instead, I save seeds from the varieties I love, grow them again, and use the space in my garden to try something new.
So let's get into the nitty-gritty of seed saving and how you can make it work—even if your garden is small.
Why Save Your Own Seeds?
There are plenty of reasons to save seeds, but these are some of my favourites.
Save Money
This is probably the most obvious reason.
Once you've purchased a variety you love, you may be able to save seeds from that plant and grow it again next year instead of buying another packet.
You don't have to save seeds from everything you grow. In fact, I wouldn't recommend trying to do that when you're just starting out.
Pick a few plants that you really loved. Save their seeds. Grow them again.
Over time, you can build your own little seed collection without having to buy every variety from scratch every year.
And if you want to try new varieties? That's where seed swaps can be a lot of fun.
Grow Your Favourite Varieties Again
Have you ever grown a tomato that was so good you immediately thought, "I need to grow this again next year"?
Same.
Saving seeds means you can keep those favourites in your garden year after year—provided you're saving from an open-pollinated variety and you've managed cross-pollination appropriately.
This is especially useful in a small garden because you don't have room to waste on varieties you don't love.
If a plant produces beautifully, tastes fantastic, and performs well in your particular growing conditions, that's a plant worth saving seeds from.
Choose Plants That Perform Well in Your Garden
This is one of the things I find most interesting about saving seeds.
A seed packet tells you what a variety can do under the right conditions. But your garden has its own combination of weather, soil, pests, disease pressure, sunlight, and growing conditions.
If you consistently save seeds from your healthiest and most productive plants, you're selecting for the characteristics you value in your garden.
Over time, that can help you develop a collection of plants that are particularly well suited to your growing conditions.
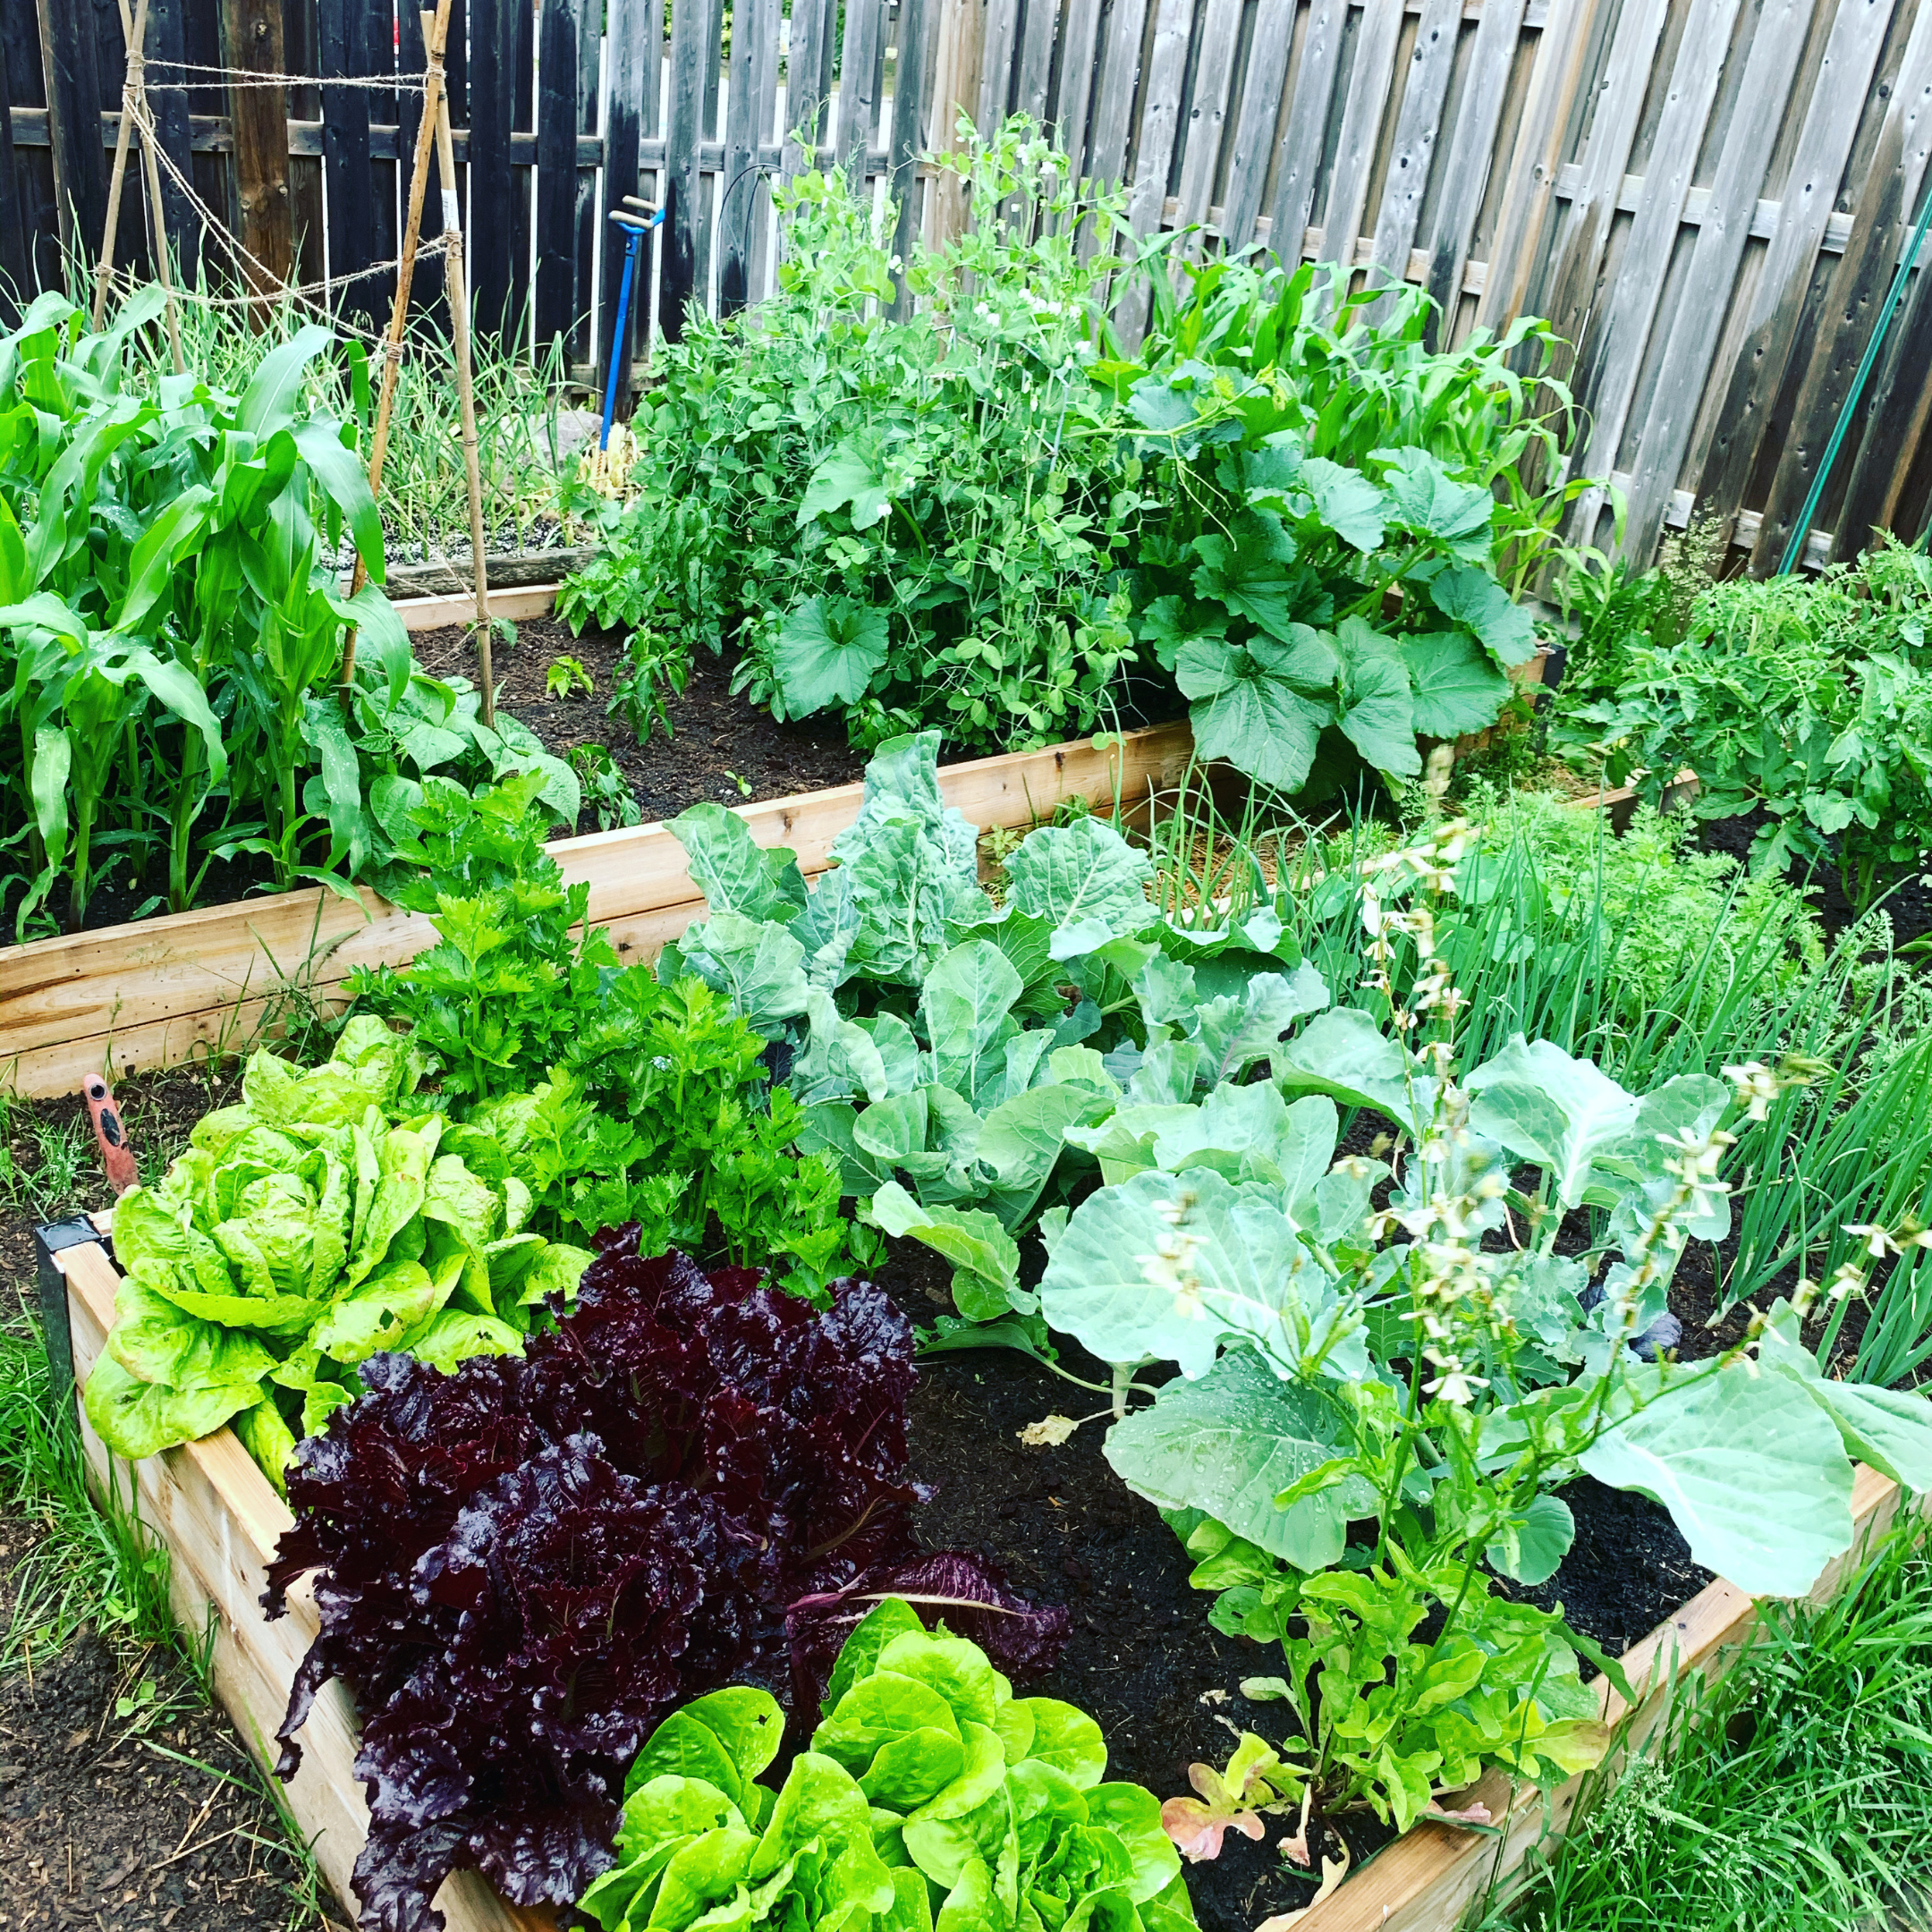
And you don't need acres of land to do this. You can do it with a handful of plants growing in containers or a small backyard garden.
Preserve Special Varieties
This is the part of seed saving that really gets my inner plant nerd excited.
There are so many incredible heirloom varieties with fascinating histories. When you save and share those seeds, you're helping keep those varieties growing.
I once grew a Granny Cantrell tomato from seeds I received through a seed exchange. The variety is named after Lettie Cantrell, who received the seeds from a soldier returning from Germany after World War II.
She continued saving seeds from her best tomatoes, and the variety was eventually shared with other gardeners.
The idea that a tomato growing in my garden could trace its history back through generations of gardeners is pretty darn cool.
Seed saving isn't just about getting free seeds.
Sometimes it's about keeping a little piece of gardening history alive.
Which Seeds Can You Save?
Before you start scooping seeds out of every tomato in sight, there are a few terms you'll want to understand.
The big one is open-pollinated.
Open-Pollinated Seeds
Open-pollinated varieties are pollinated naturally by insects, wind, or the plant itself, and their seeds can generally be saved and grown the following year with the expectation that they'll resemble the parent plant—assuming you've managed cross-pollination.
This is what makes open-pollinated varieties so useful for seed saving.
Heirloom varieties are open-pollinated, but not all open-pollinated varieties are heirlooms.
There are plenty of newer open-pollinated varieties available today that aren't considered heirlooms.
Heirloom Seeds
Heirlooms are some of my favourite seeds.
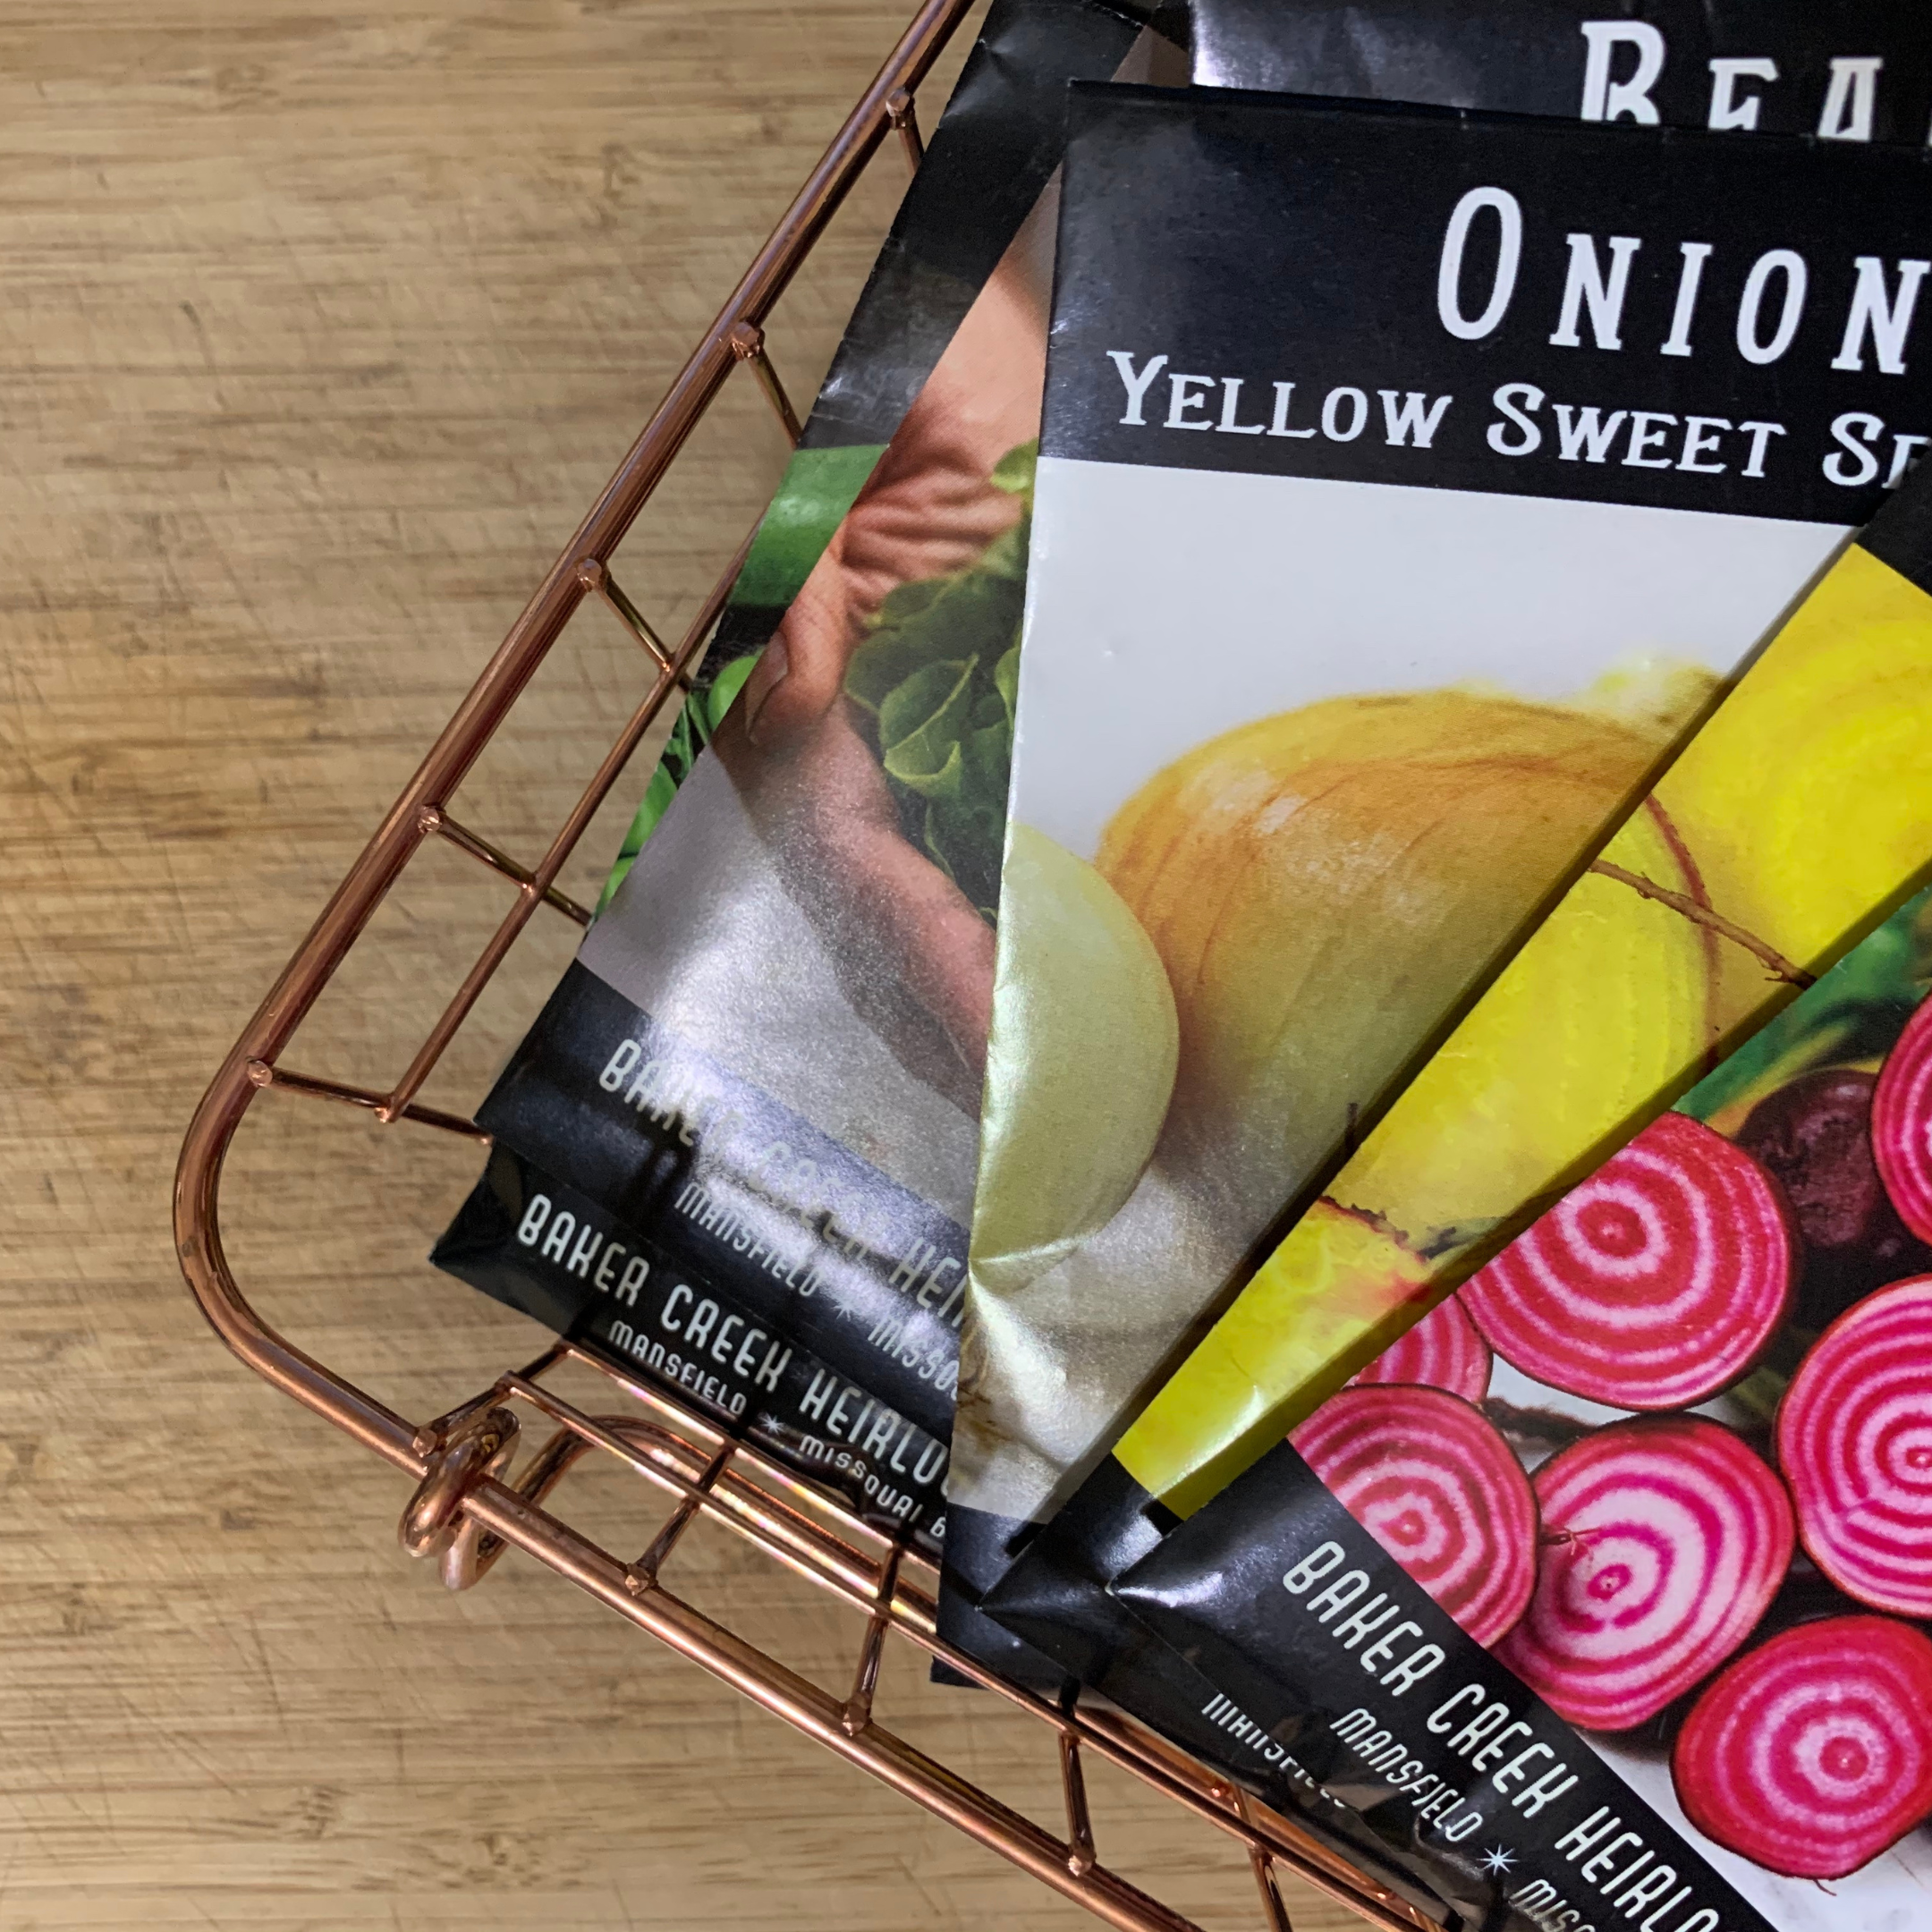
They're loved for their incredible diversity of colours, shapes, flavours, and histories. And because heirloom varieties are open-pollinated, they can be saved from year to year.
You'll find different definitions of what qualifies as an heirloom. Some people use a specific age or date, while others focus on whether the variety has been passed down through generations.
For me, the history is part of the magic.
And if you've only ever grown round red tomatoes, prepare yourself. There is an entire world of black, green, striped, orange, yellow, white, and even varieties that look downright bizarre compared with the grocery-store tomato.
Hybrid Seeds
Hybrid seeds often cause confusion because people sometimes assume hybrid = GMO.
It doesn't.
Hybrid plants are created by crossing two different varieties to combine desirable characteristics. This can result in plants with things like increased vigour, disease resistance, uniformity, or improved productivity.
And yes, you can save seeds from a hybrid plant.
The catch is that the resulting plants may not be identical to the parent plant. The next generation can show characteristics from the plants used to create the original hybrid.
That doesn't necessarily mean you'll get a bad plant. You just shouldn't expect an F1 hybrid to reliably reproduce itself from saved seed.
If your goal is predictable seed saving, open-pollinated varieties are generally the better choice.
Annuals, Biennials & Perennials
The life cycle of a plant also matters when you're saving seeds.
Annuals complete their life cycle in one growing season. Tomatoes, peppers, peas, beans, squash, and melons are examples. You can generally grow the plant, allow it to flower and produce mature seeds, and collect those seeds during the same growing season.
Biennials take two growing seasons to complete their life cycle. This includes crops such as carrots, beets, cabbage, and some other brassicas.
That means you may need to keep the plant alive through winter before it flowers and produces seeds.
Perennials live for multiple years. Depending on the plant, you may not get seeds until the plant is mature enough to flower and reproduce. Asparagus, fruit trees, berries, chives, and some herbs are examples.
For beginners, annual crops are generally the easiest place to start.
Pollination: The Key to Saving Seeds
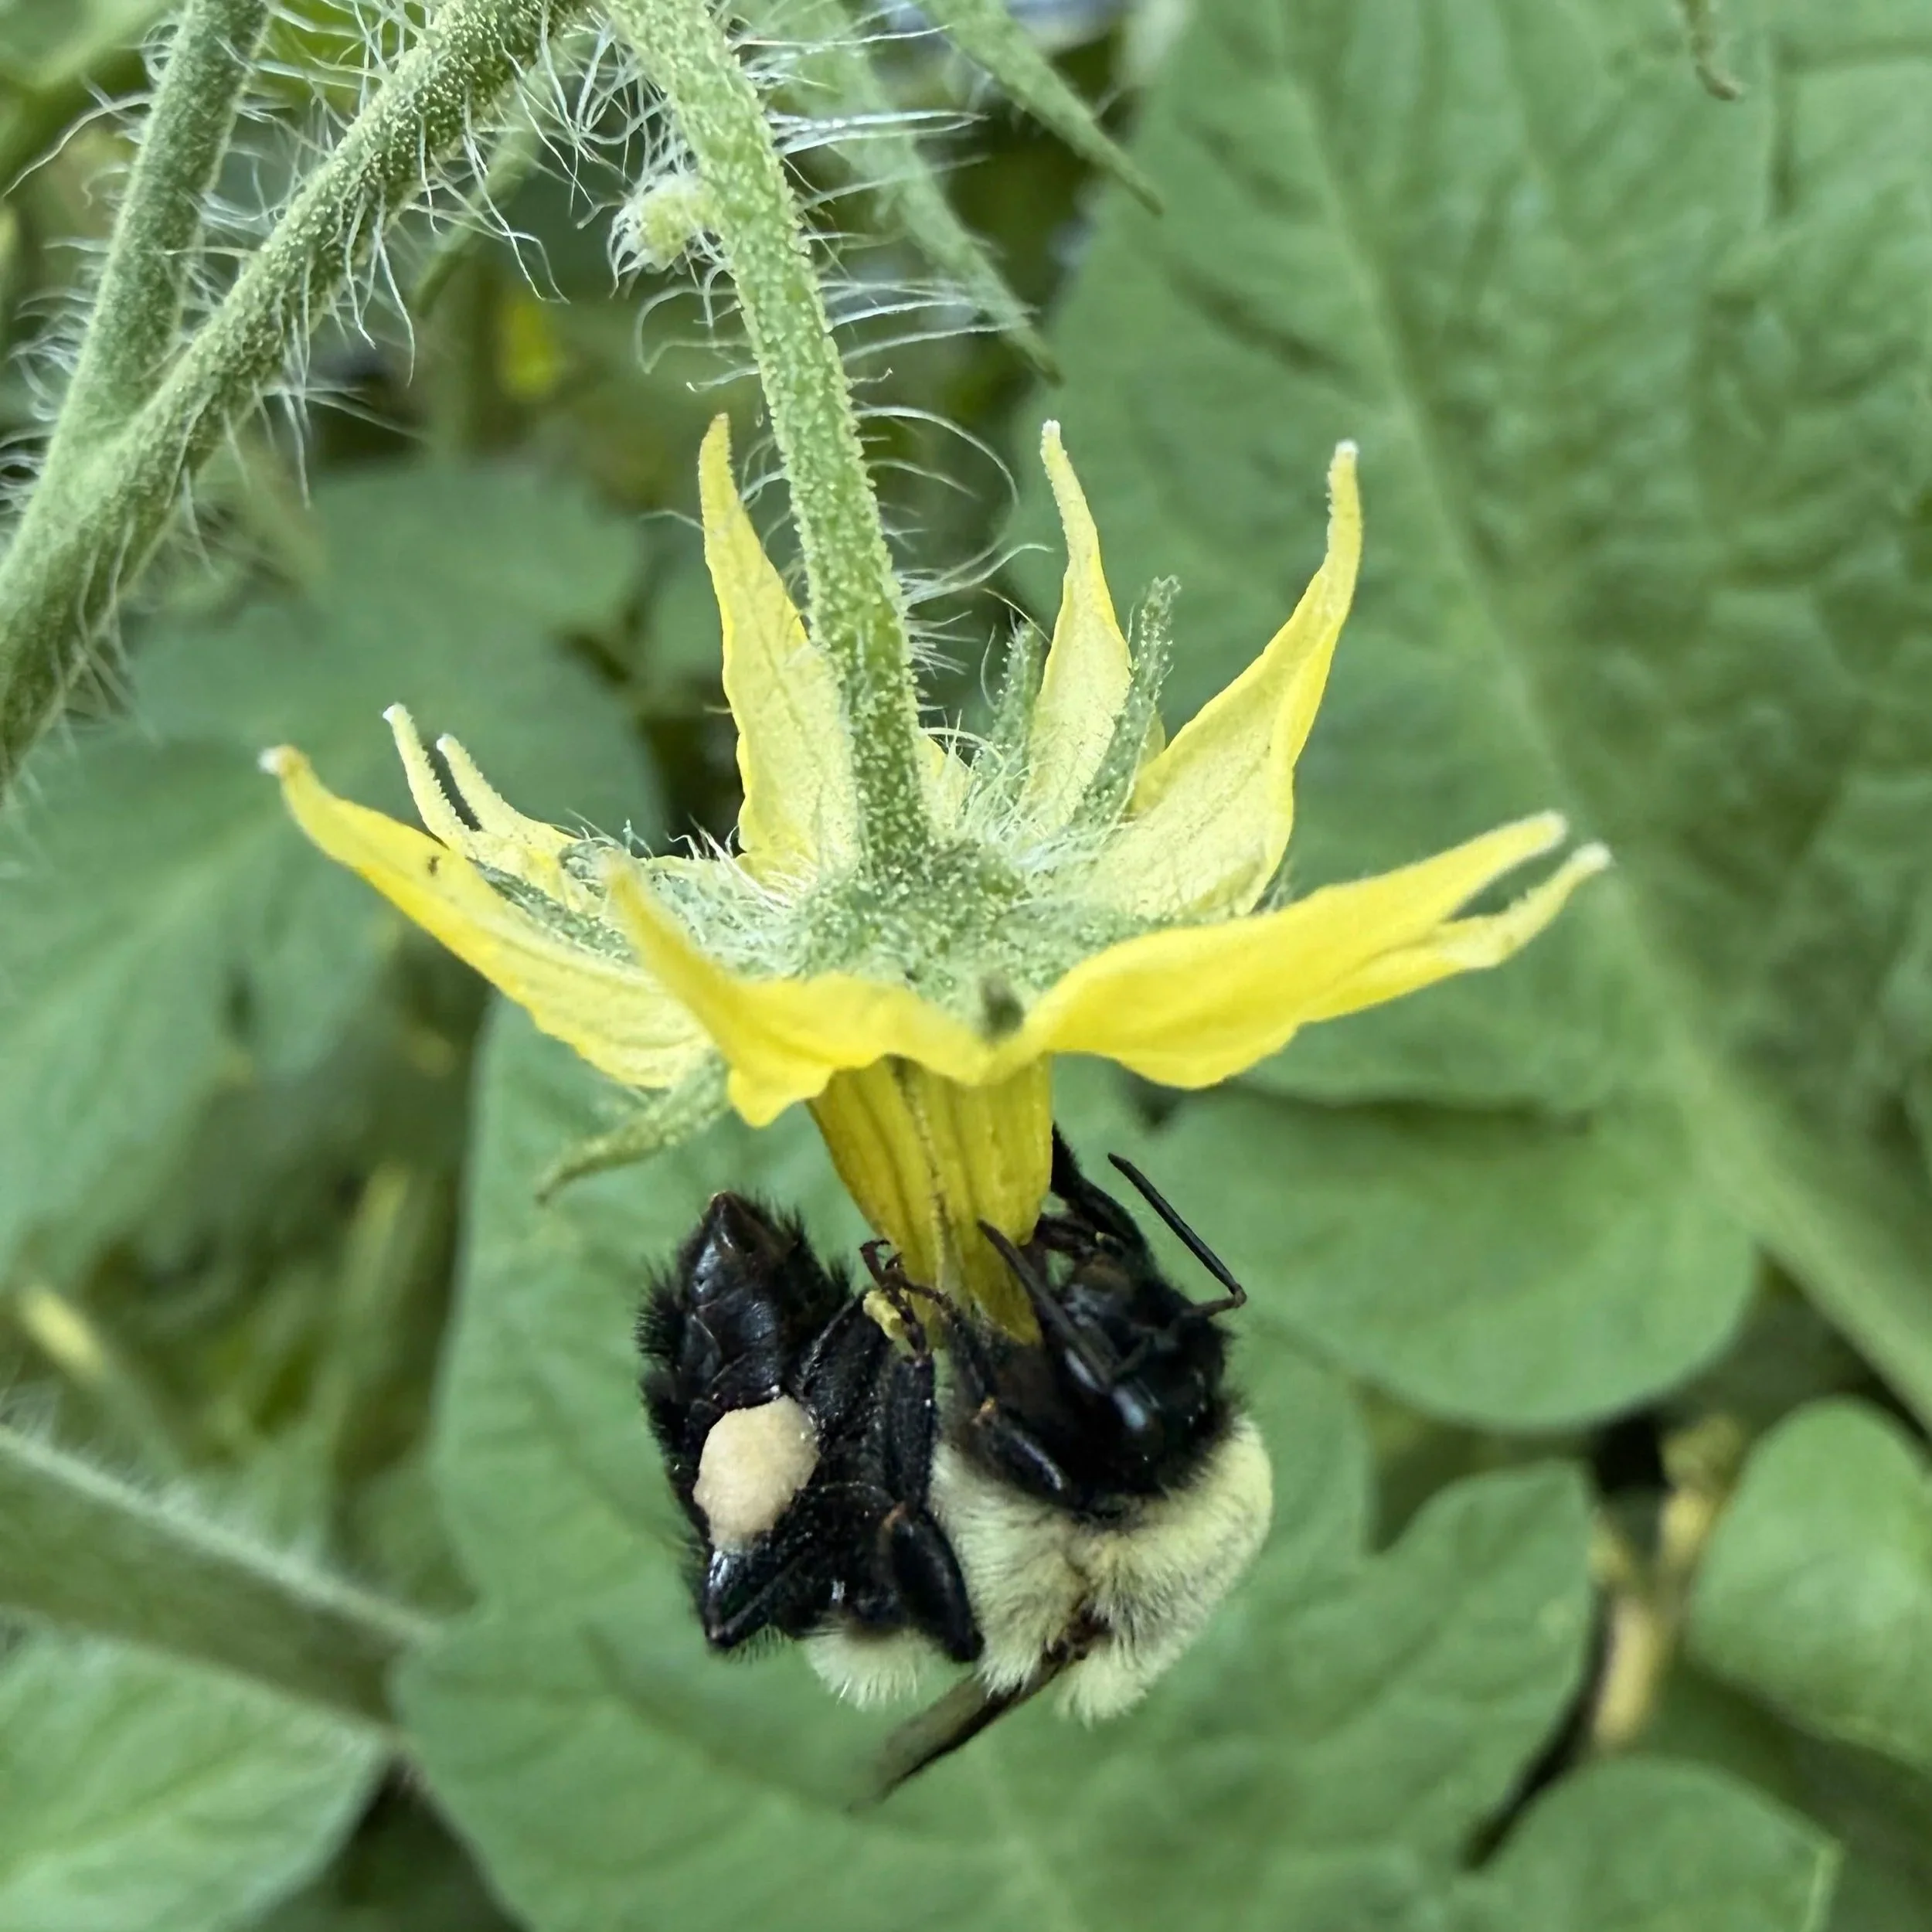
No pollination means no seeds.
Pretty simple, right?
But when you're saving seeds, there's another issue to think about: cross-pollination.
If pollen from another variety reaches your plant's flower, the seeds you save may not produce the plant you were expecting.
That's not necessarily a bad thing. In fact, intentional cross-pollination is how plant breeders create new varieties.
But if your goal is simply to save seeds from your favourite tomato, pepper, bean, or squash and get something similar next year, you'll want to pay attention to how that plant is pollinated.
Self-Pollinating Plants
These are some of the easiest plants to start with because they generally don't require much intervention.
Examples include:
Tomatoes
Peppers
Peas
Beans
Sunflowers can also produce seeds easily, although their pollination can involve insects.
If you're new to seed saving, I'd start with one of these crops.
Plants That Need Pollinators
Some plants rely much more heavily on insects to move pollen from flower to flower.
Squash, cucumbers, and melons are good examples.
If you're growing these in a small garden, attracting pollinators is incredibly helpful—not just for seed saving, but for getting fruit in the first place.
And if you only have a balcony or small patio, don't assume you can't help. A few containers of flowering plants can provide valuable food for pollinators.
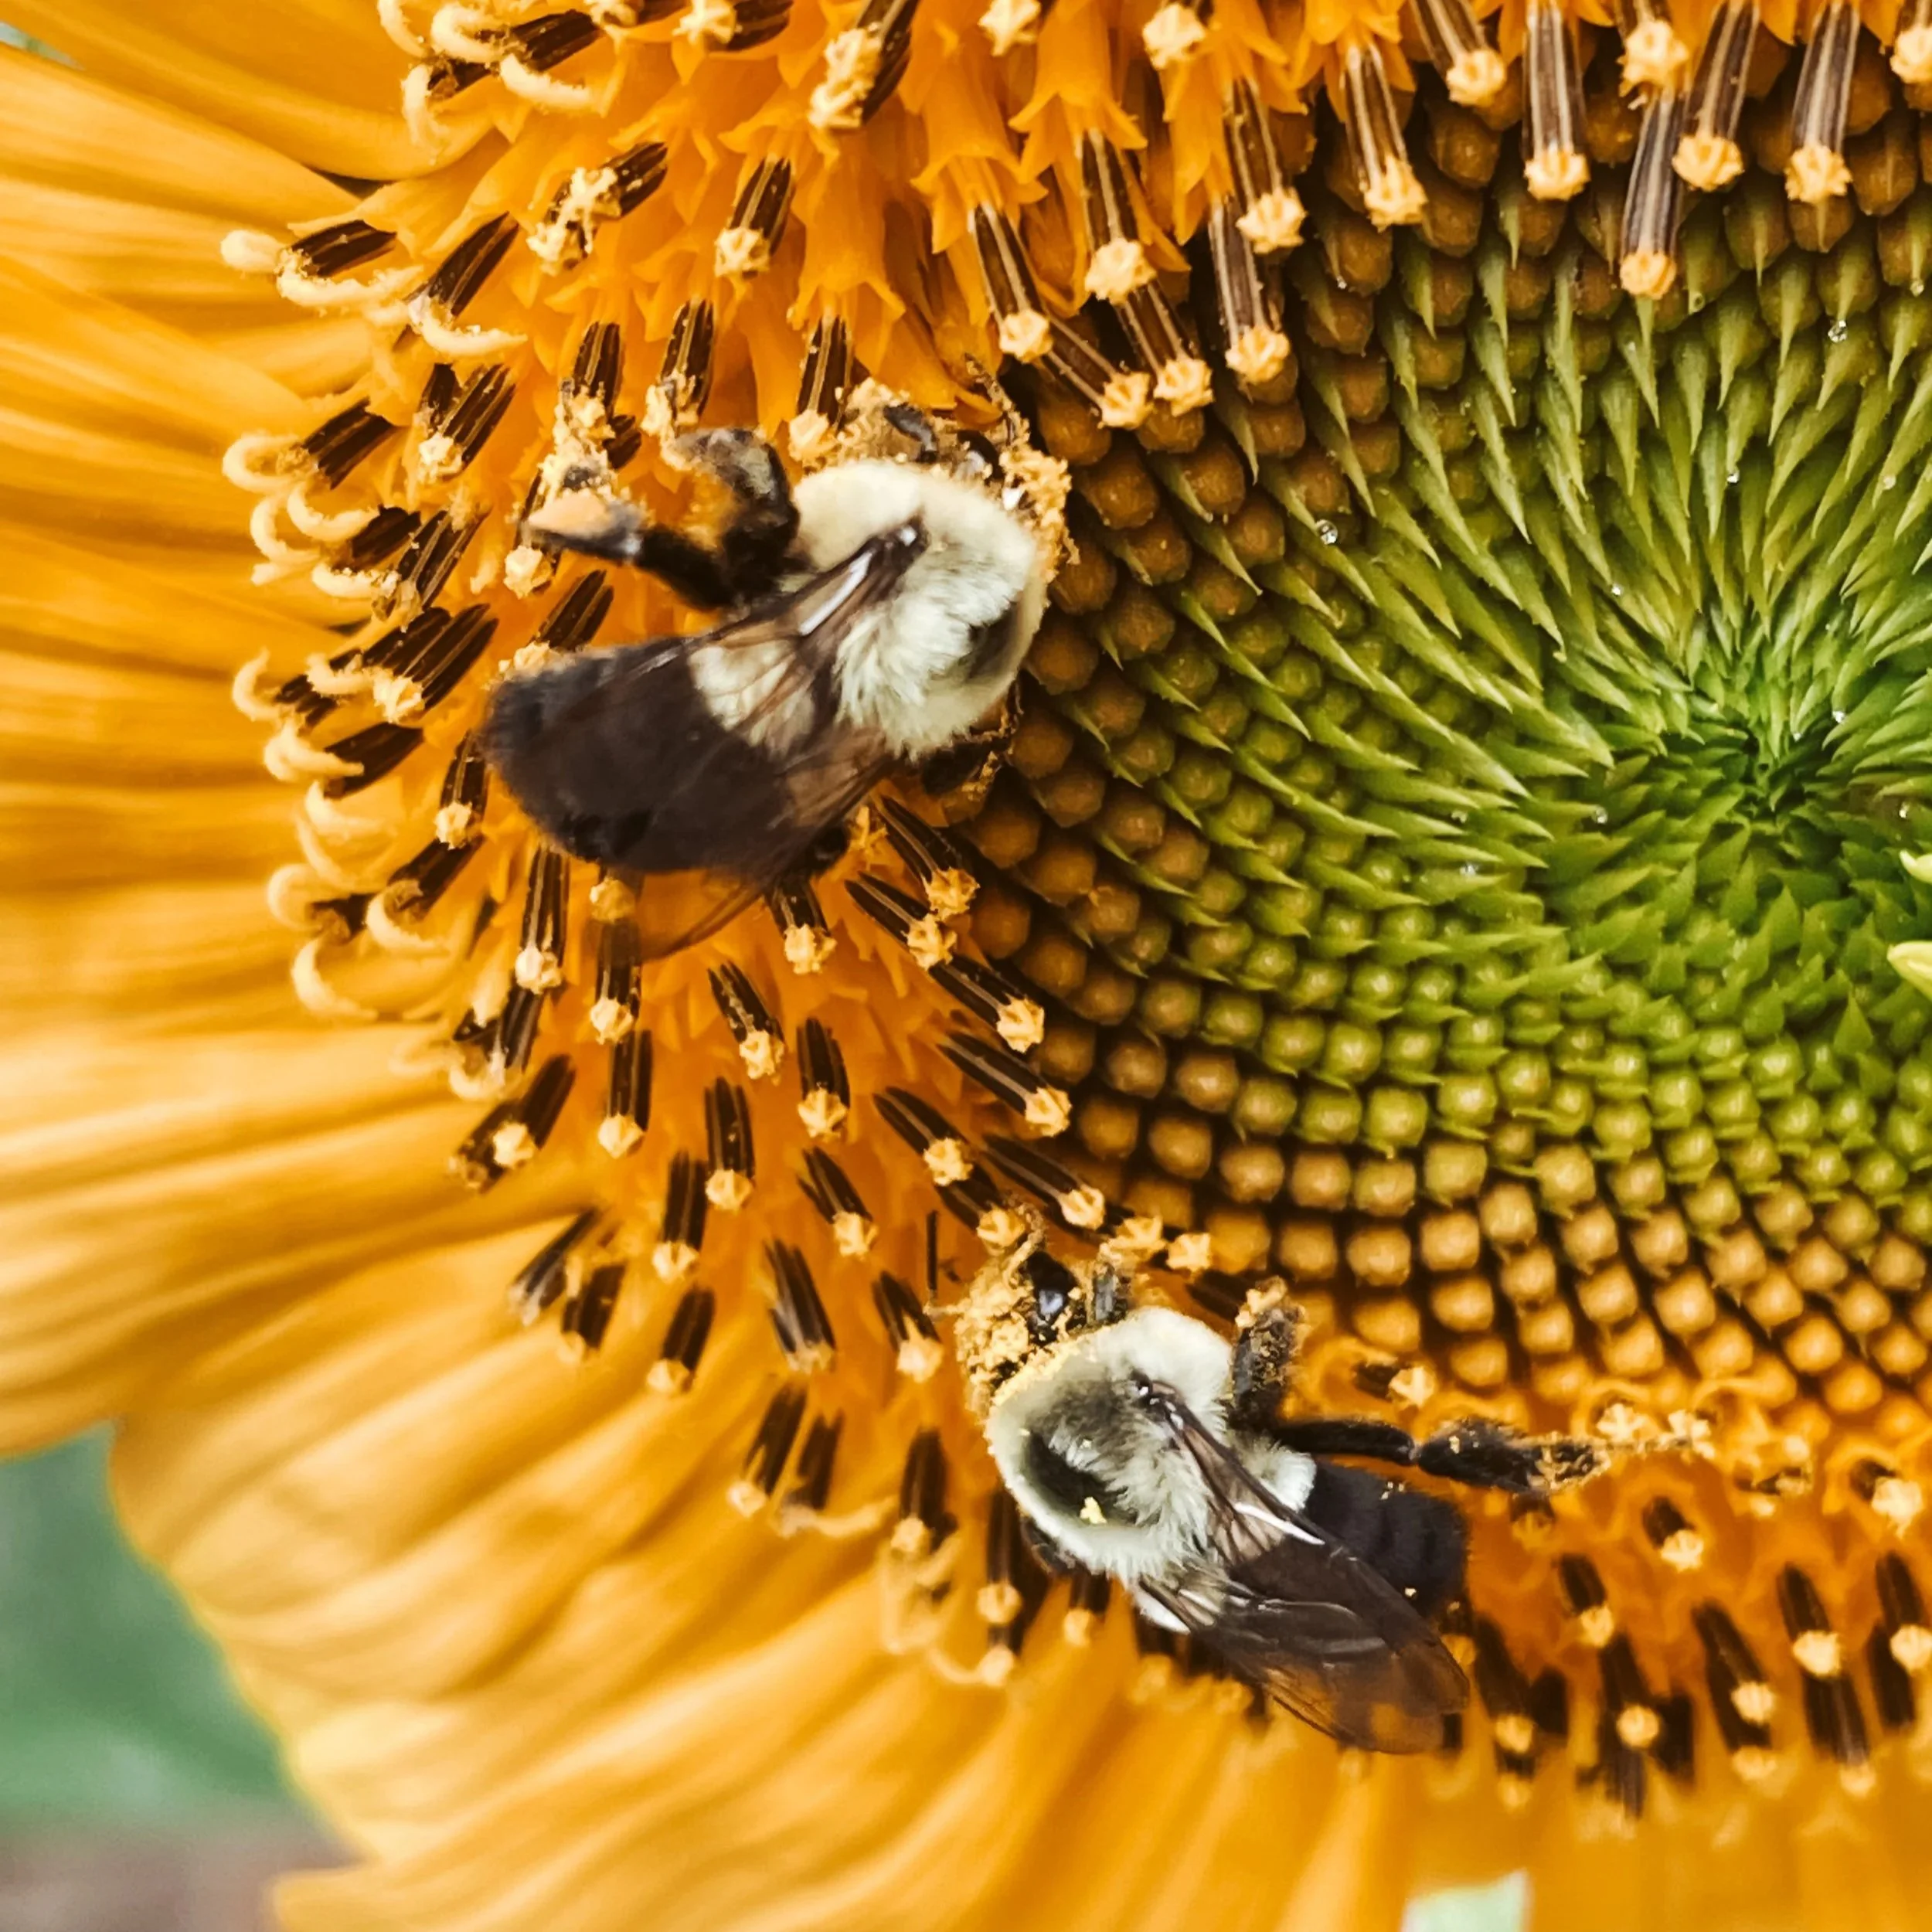
Attracting Pollinators to a Small Garden
When I first started growing food, I made the mistake of thinking flowers were taking up valuable space that could be used for edible plants.
I've changed my mind.
A productive garden isn't just about the plants you harvest. It's also about creating an environment where pollinators and other beneficial insects can thrive.
Some flowers I've grown to attract pollinators include:
Sunflowers
Nasturtiums
Alliums
Borage
Hollyhocks
Zinnias
Honeywort
Cosmos
Agastache (hyssop)
And many of these are perfectly happy growing in containers.
Preventing Cross-Pollination
If you're saving seeds from multiple varieties of plants that can cross-pollinate, you may need to take steps to keep them separated.
One simple option is to protect individual flowers with blossom bags.
I discovered that small mesh bags intended for wedding favours work surprisingly well for this. You can also make your own.
The basic idea is to keep unwanted pollen away from the flower until you've controlled the pollination process.
On the other hand, if you're feeling adventurous and want to experiment with creating your own varieties, cross-pollination becomes your friend.
That's a whole different rabbit hole—and a rather fun one.
How to Save Seeds
Now we get to the good stuff.
There are a few different ways to save seeds depending on the plant.
I like to think of them as wet harvest, dry harvest, and the awkward middle ground occupied by peppers.

Wet-Harvest Seeds
Some seeds are surrounded by a wet, gelatinous coating inside the fruit.
Tomatoes are the classic example.
For these, I use small jars and put the seeds and their surrounding gel into the jar with a little water.
Cover the jar with a piece of paper towel and label it with the variety. Let it sit for about a week.
Yes, it may get a little gross.
That's okay.
The process allows the seed mixture to ferment, which can help break down the gelatinous coating around the seeds.
After about a week, rinse the seeds thoroughly in a strainer. Then spread them out on a labelled paper towel or another suitable surface and allow them to dry completely.
Don't rush this part.
Seeds need to be thoroughly dry before they're stored.
Wet-harvest crops can include:
Tomatoes
Cucumbers
Squash
Melons
Dry-Harvest Seeds
These are considerably easier.
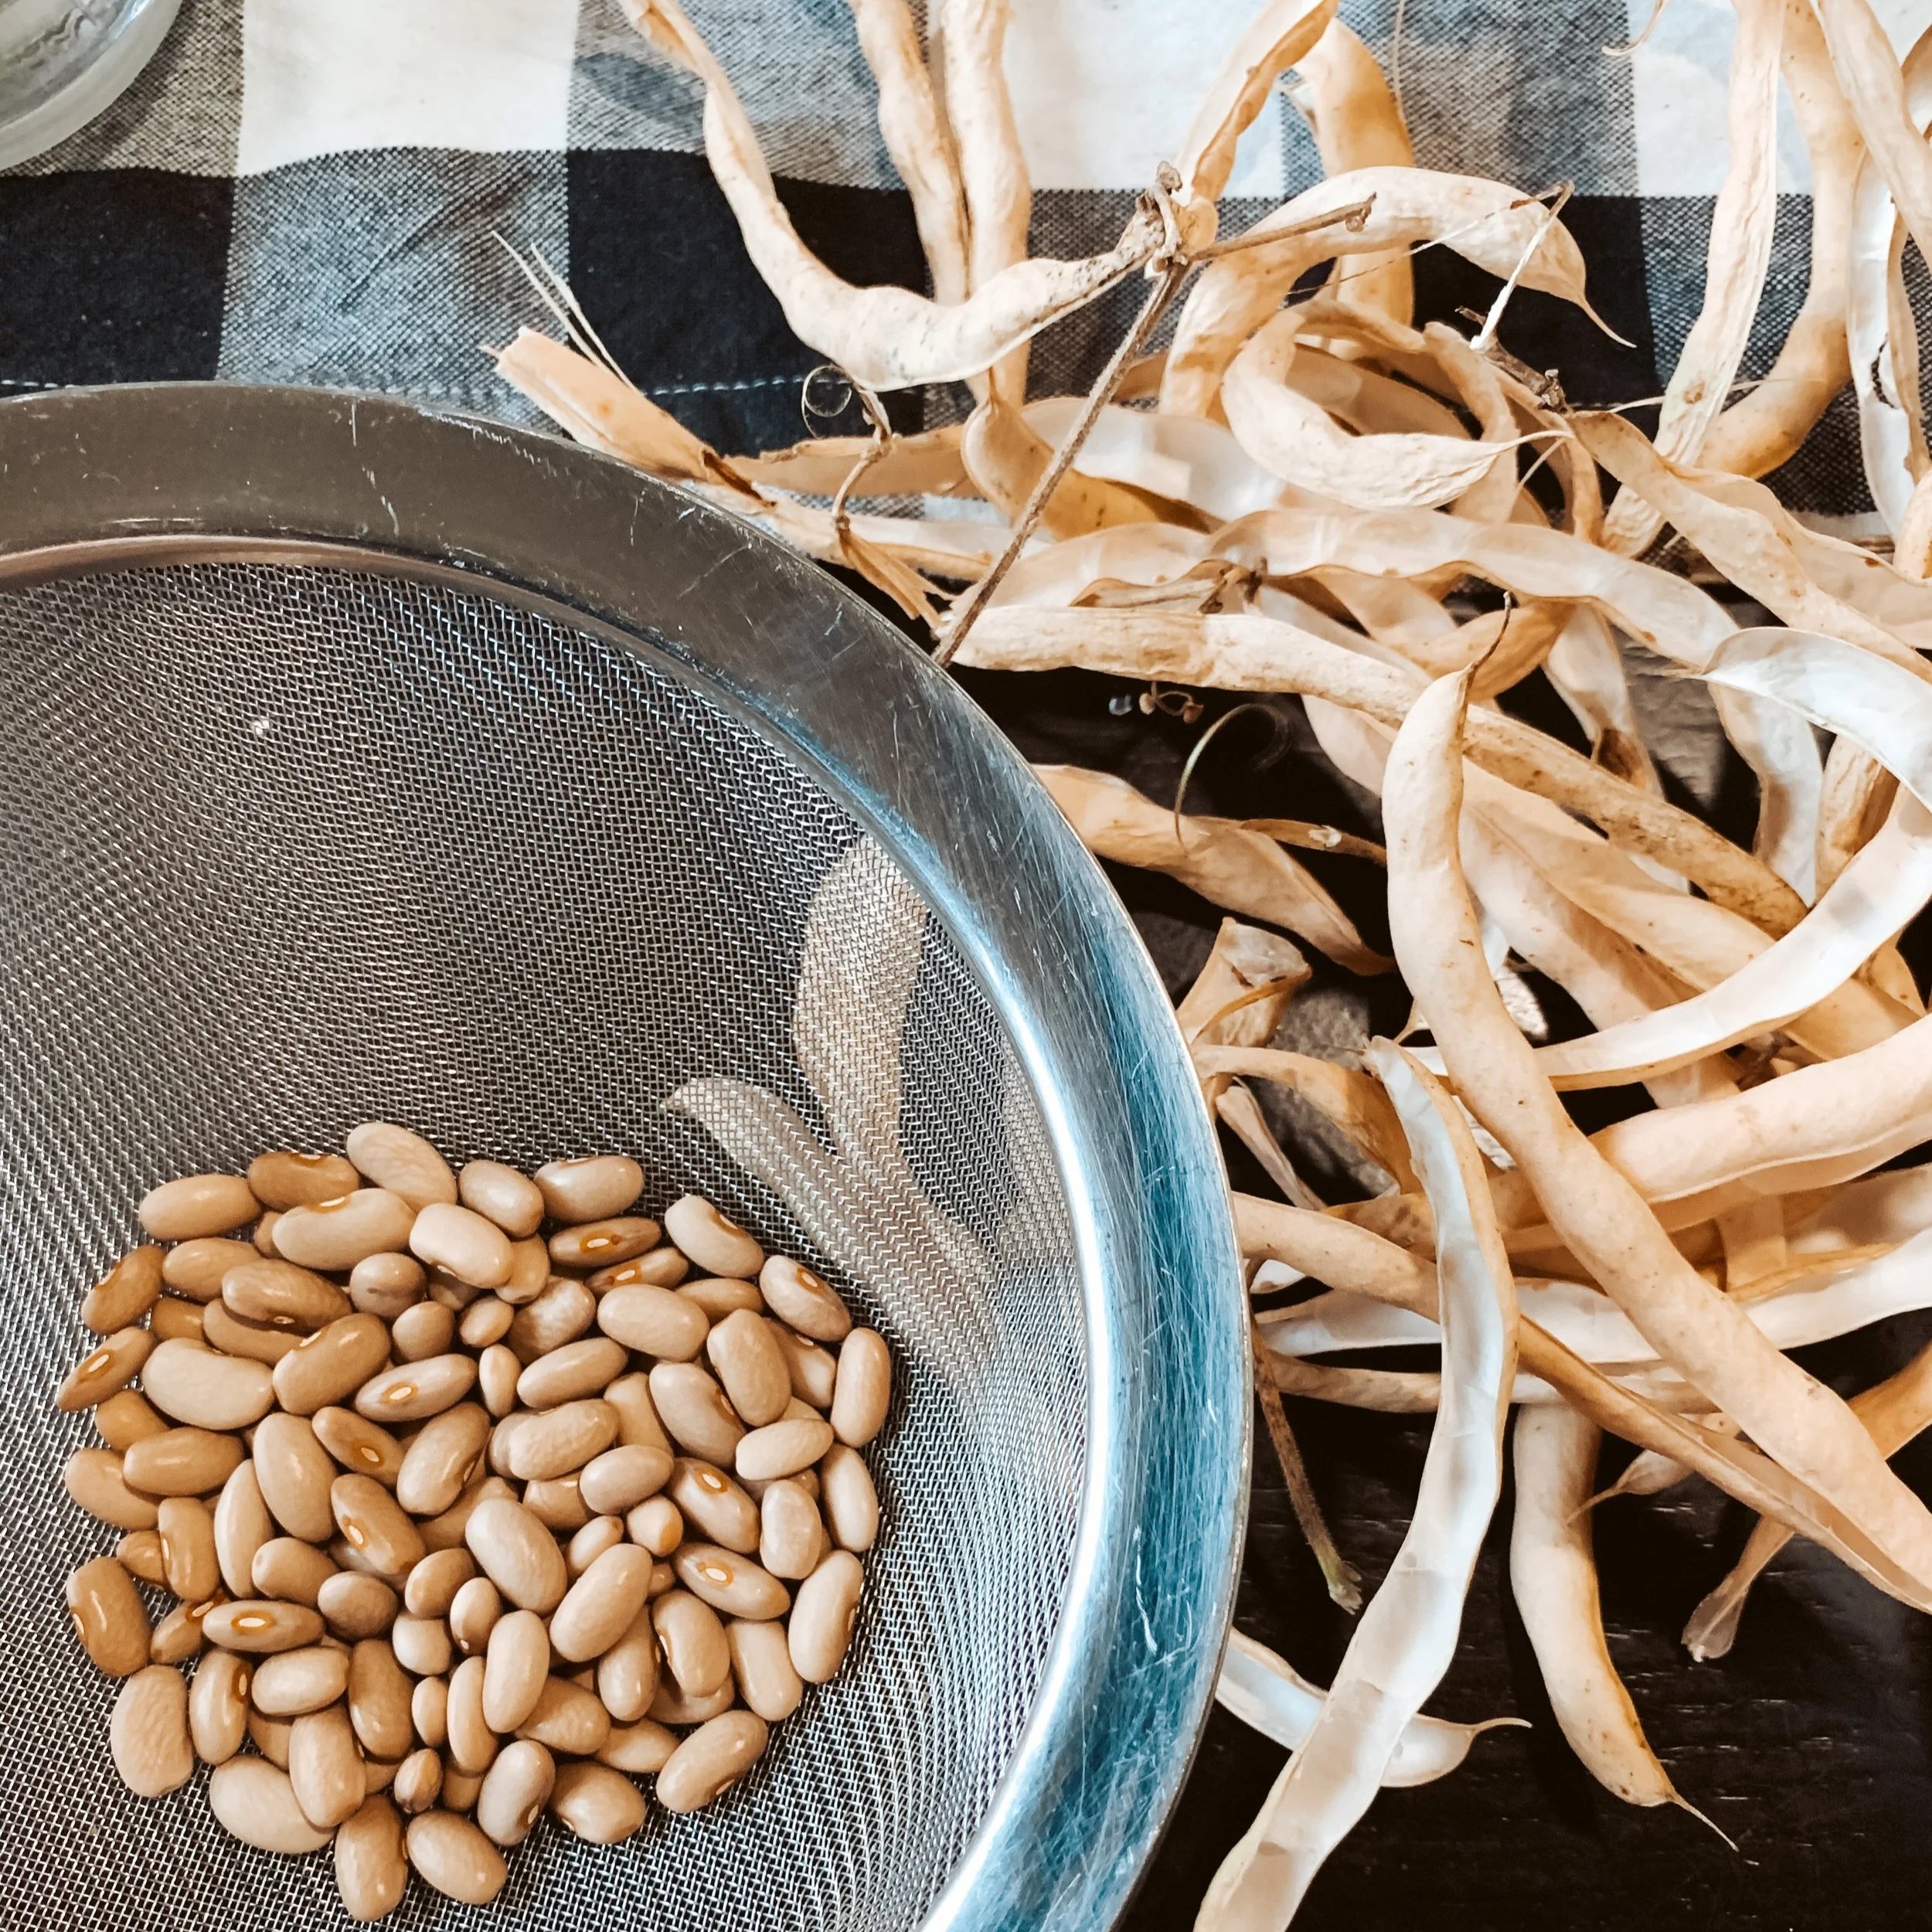
Allow the seeds to mature and dry naturally on the plant, then collect them.
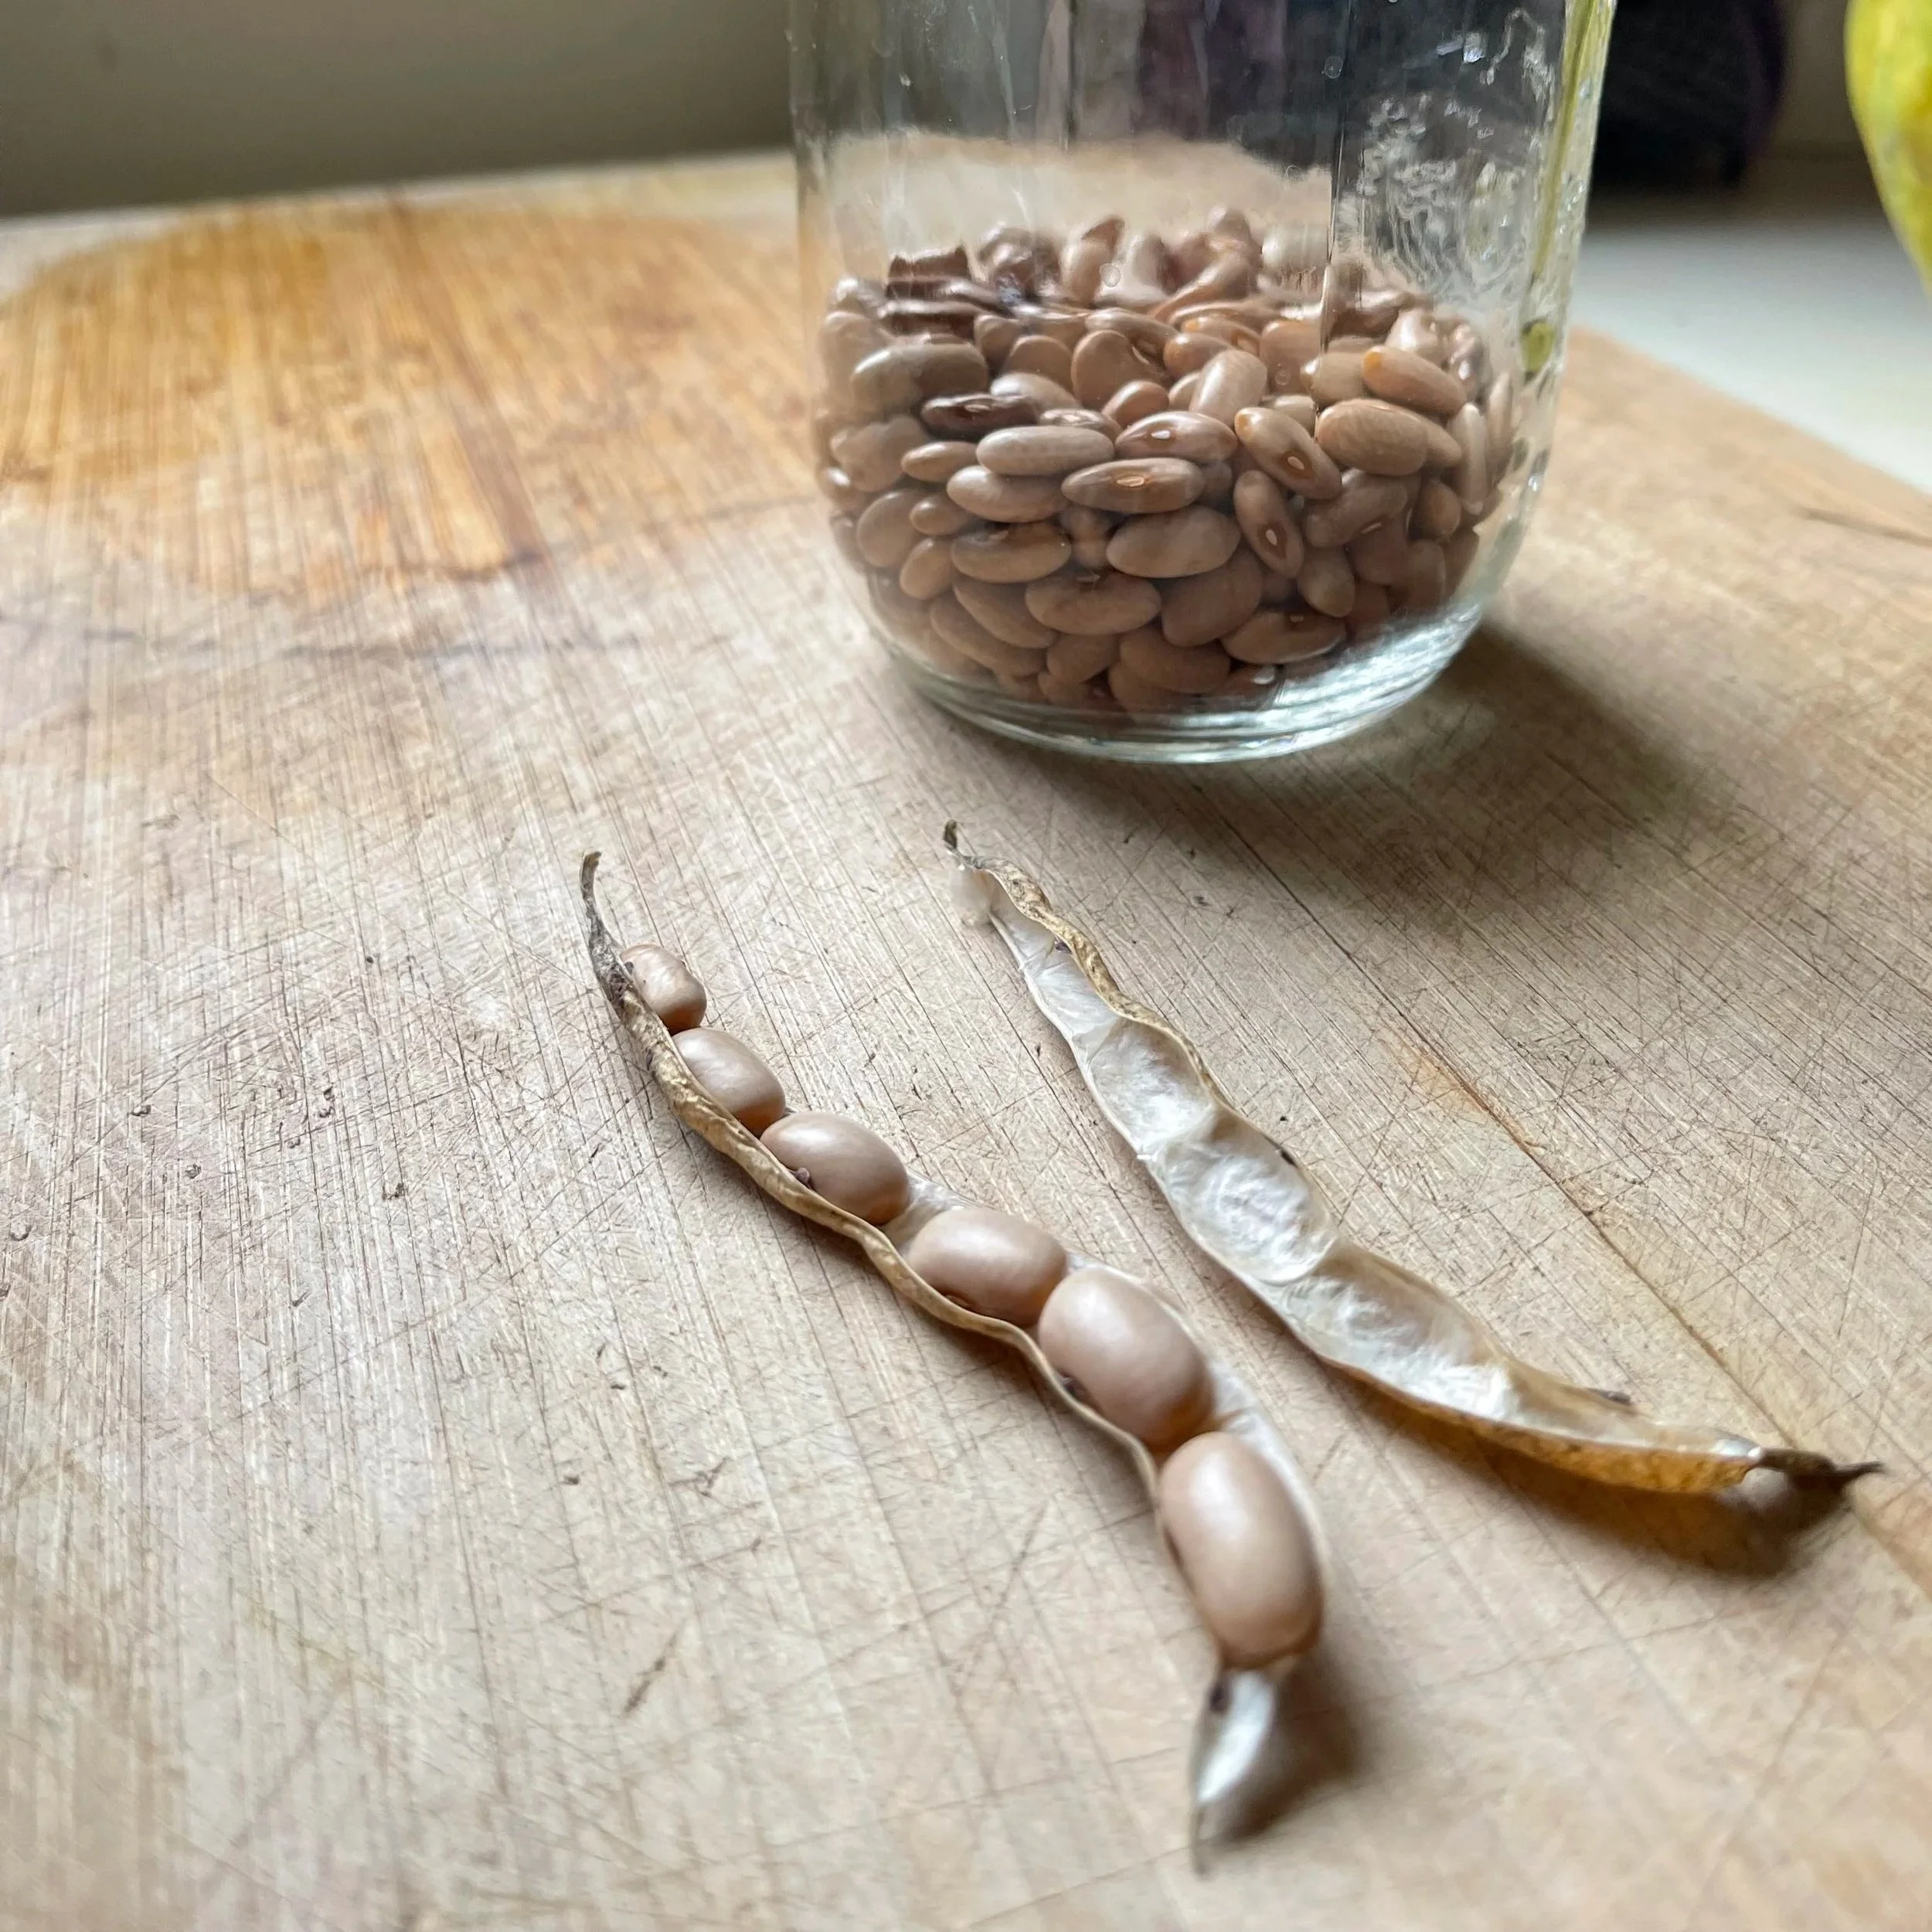
Beans and peas are good examples. Radish seeds can also be collected once the seed pods have dried.
Once collected, I like to let them dry a little longer before storing them, just to make sure there isn't any lingering moisture.
Dry-harvest crops include:
Beans
Peas
Radishes
Peppers: The Awkward Middle Ground
Peppers don't fit quite as neatly into either category.
The important thing is to let the pepper remain on the plant until it is fully mature.
For many varieties, that means allowing the pepper to change colour—often to red—and begin to wrinkle slightly.
Remove the seeds and spread them out to dry for a week or two.
Once they're completely dry, they're ready for storage.
Saving Seeds From Biennial Crops
This is where seed saving gets a little more complicated.
With biennial crops, you won't generally get mature seeds during the first growing season.
The plant needs to survive winter and continue growing the following year before it flowers and produces seeds.
Depending on your climate, that may mean leaving the plant in the garden with protection or digging it up and storing it somewhere suitable over winter.
Examples include:
Carrots
Parsley
Cabbage
Parsnips
Beets
Celery
Brussels sprouts
Cauliflower
This is one area where your climate and growing conditions make a big difference.
Can You Save Seeds From Hydroponic Plants?
Absolutely.
If you're growing food hydroponically, seed saving can be another way to get more from the plants you're already growing.
One advantage of growing indoors is that you have much more control over the growing environment. Depending on the plant and your setup, you may also have fewer concerns about outside pollinators introducing pollen from another variety.
Just remember that the same rules about hybrid versus open-pollinated varieties still apply.
If you’re interested in hydroponics and growing year round then you should check out my other site The REAL Indoor Gardener.
How to Store Saved Seeds
Successfully harvesting seeds is only half the job.
You can ruin perfectly good seeds by storing them while they're still damp.
Ask me how I know. Or better yet, don't.
Keep Seeds Dry and Cool
Moisture is your enemy.
Seeds should be completely dry before you store them.
You can use paper seed envelopes, small glass containers, vials, or another airtight storage method that keeps moisture out.
The goal is to keep your seeds:
Dry
Cool
Dark
Protected from temperature and humidity swings
A cool, dry storage location can significantly extend seed life.
If you store seeds in the refrigerator, make sure they're well sealed so they aren't exposed to the humidity inside the fridge.
And always label your seeds.
Trust me.
Future You will have absolutely no idea what those mysterious beige seeds in the tiny envelope are.
I designed some FREE printable seed packets and you can get them here.
How Long Do Saved Seeds Last?
Seed longevity varies considerably depending on the crop and how the seeds were stored.
These are rough averages rather than guarantees:
Don't treat these numbers as an expiration date.
Seed viability depends on the crop, how mature the seeds were when harvested, moisture levels, temperature, and storage conditions.
And if you discover a packet of seeds that is supposedly "too old"?
Try growing them anyway.
You might be surprised.
🌱 Final Thoughts
Saving seeds doesn't have to become another complicated project on your gardening to-do list.
You don't need a huge garden. You don't need dozens of plants. And you certainly don't need to save seeds from everything you grow.
Start with one or two easy crops.
Save seeds from the healthiest plants that produced the food you actually enjoyed eating.
Label them.
Dry them properly.
Store them well.
Then plant them next year and see what happens.
That's one of the things I love most about gardening. You aren't just growing this year's food. You're creating the possibility of next year's garden, too.
And in a small garden, getting a little more value from every plant is always a win.
